Part 2: Adding Another Module
Prerequisites
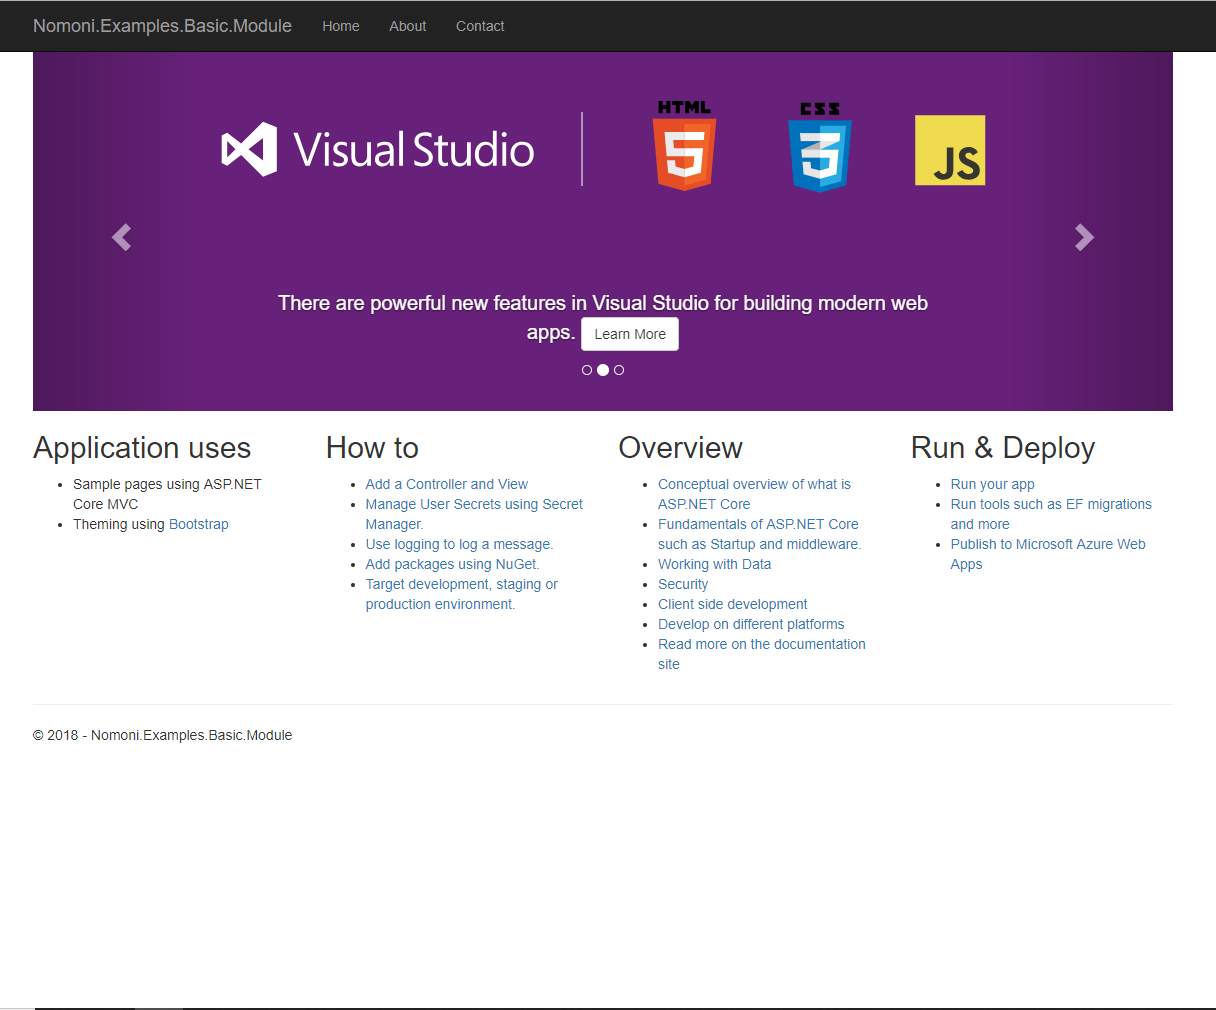
To start this tutorial you will need to have completed In Part 1 : Basic Web App with single module. The result of which is a basic MVC .net core app with a single module that looks and plays just like the standard .net core template app.
The source code for part one is available HERE
Outcome
We are going to add a second module to the solution. The second module will be a a simple “Admin” module. With custom Controller, Model, View, CSS and Javascript. All located in a self contained project.
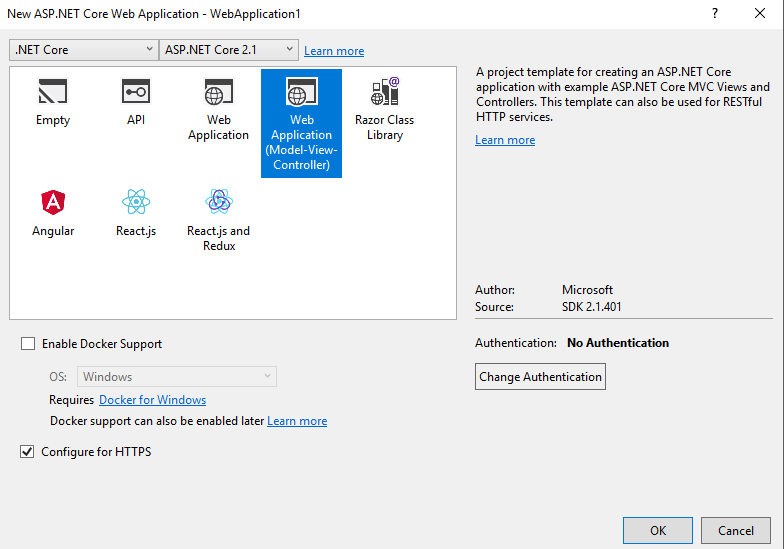
Step 1 : Add a new .net core project using MVC template
This will form the basic of our new module.
Step 2 : Install Nomoni.Mvc nuget package
Install the Nomoni.Mvc package in the new admin module project
Install-Package Nomoni.Mvc
Step 3 : Remove Unnecessary Things
Like before delete :
- Startup.cs
- appsettings.json
This time also delete:
- Everything in Models
- Everything in Views
- Everything in Controllers
- Everything in wwwroot
We will create a custom controller, models, view and static content later on.
Also amend Project.cs to the following:
public class Program
{
    public static void Main(string[] args)
    {
    }
}
Step 4 : Update Project .csproj
Update the modules .csproj file to look like this:
<Project Sdk="Microsoft.NET.Sdk.Web">

  <PropertyGroup>
    <TargetFramework>netcoreapp2.1</TargetFramework>
    <GenerateEmbeddedFilesManifest>true</GenerateEmbeddedFilesManifest>
  </PropertyGroup>

  <ItemGroup>
    <EmbeddedResource Include="Views\**;wwwroot\**" />
  </ItemGroup>

  <ItemGroup>
    <PackageReference Include="Microsoft.AspNetCore.App" />
    <PackageReference Include="Nomoni.Mvc" Version="0.1.18246" />
  </ItemGroup>

</Project>
Step 5 : Create Module Definition
Add a new folder to the module project called “Registrations”.
Add a new file called “ModuleInfo.cs” and implement the IModule interface found in Nomoni.Core.Abstractions
This time the module we are creating will be for an “admin” area of the website. It will work like an MVC area but will have the benefit of a separate assembly.
public class ModuleInfo : IModule
{
    public string Name => "Admin Module";

    public string Author => "Jon Ryan";
}
Step 6 : Create a New Controller
Create a new empty controller
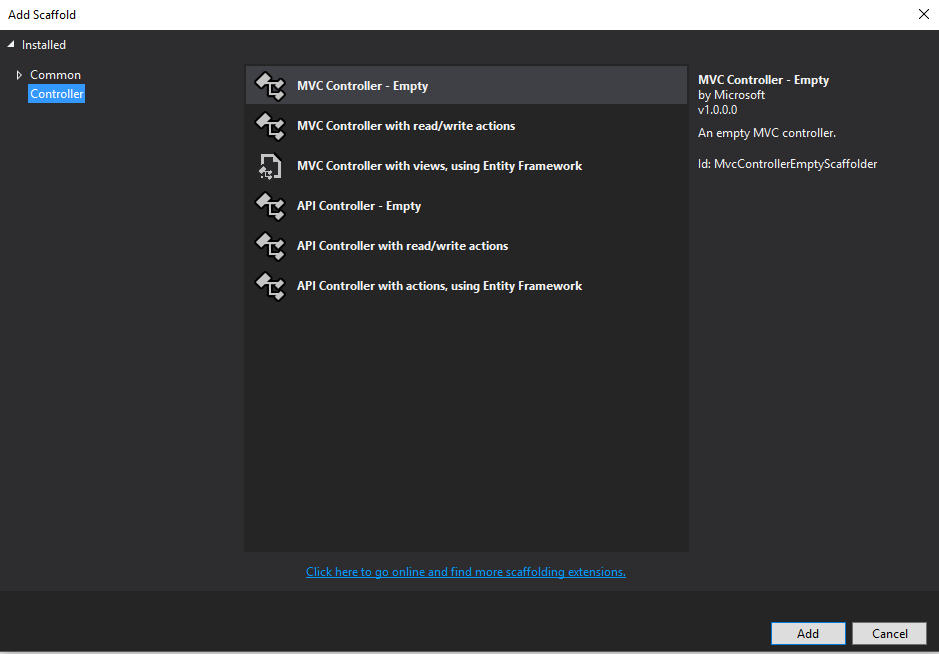
And name it “ManagementController”

Which should produce :
public class ManagementController : Controller
{
    public IActionResult Index()
    {
        return View();
    }
}
Currently this controllers actions are accessible to anyone. In a later module the controller will be locked down to registered users.
Step 7 : Create a New Model
In the models folder create a new view model called “ManagmentViewModel”
public class ManagmentViewModel
{

    public string PageTitle { get; set; }

    public string PageContent { get; set; }

}
Step 8 : Create a New stylesheet
In wwwroot -> css add a new stylesheet called “admin-styles”
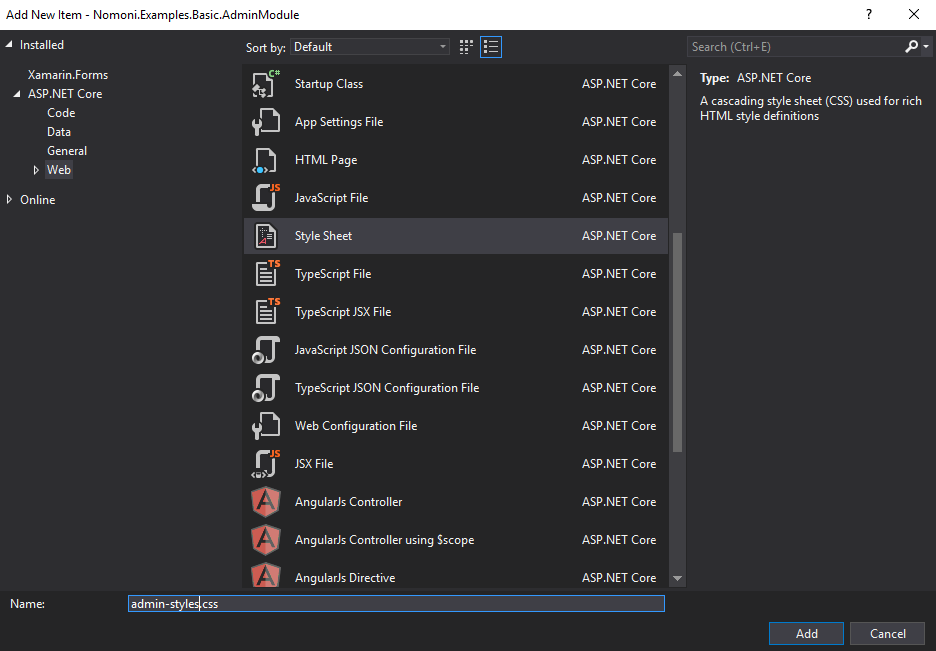
Update it’s contents to the following:
.admin-heading{
    font-size: 20px;
    color: #0094ff
}
Step 9 : Create a New Javascript File
In wwwroot -> js add a new javascript file called “admin-scripts”
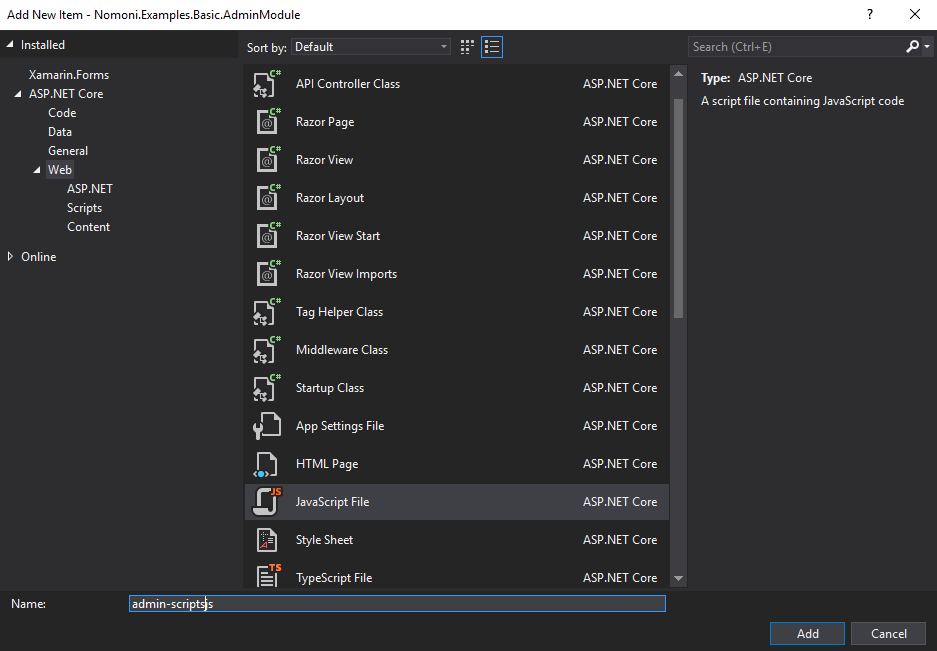
Update it’s contents to the following:
document.getElementById("button").addEventListener("click", function (e) {
    alert("You clicked a button!");
});
Step 10 : Create a New View
In Views -> Management add a new view called Index
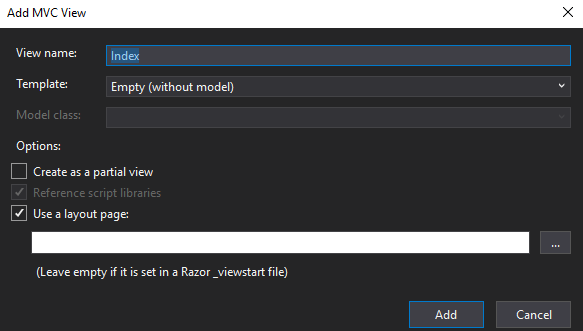
Update it’s contents to the following:
@model Nomoni.Examples.Basic.AdminModule.Models.ManagmentViewModel

@{
    ViewData["Title"] = Model.PageTitle;
}

<link rel="stylesheet" href="~/css/admin-styles.css" />

<h2 class="admin-heading">@Model.PageTitle</h2>

<a href="#" id="button" class="btn btn-primary">Click Me</a>

<script src="~/js/admin-scripts.js"></script>
Ideally the styles would be in the head of the HTML document and the Javscript before the closing HTML tag. So The next tutorial will cover making that the case. For now this will do though.
Step 11 : Update the Controller
Update the contents of the ManagementController.cs to the following:
using Microsoft.AspNetCore.Mvc;
using Nomoni.Examples.Basic.AdminModule.Models;

namespace Nomoni.Examples.Basic.AdminModule.Controllers
{
    public class ManagementController : Controller
    {
        public IActionResult Index()
        {

            var model = new ManagmentViewModel()
            {
                PageContent = "I'm some page content",
                PageTitle = "Management Page"
            };

            return View(model);
        }
    }
}
Step 12 : Create Route Registration Definition
Add a new file to “Registrations” called “RouteRegistration.cs” and implement the IRouteRegistration interface found in Nomoni.Mvc.Registration
using Microsoft.AspNetCore.Builder;
using Microsoft.AspNetCore.Routing;
using Nomoni.Mvc.Registration;

namespace Nomoni.Examples.Basic.AdminModule.Registrations
{
    public class RouteRegistration : IRouteRegistration
    {
        public int Priority => 2000;

        public void Execute(IRouteBuilder routeBuilder)
        {
            routeBuilder.MapRoute(name: "admin", template: "admin/{controller}/{action}/{id?}", defaults: new { controller = "Home", action = "Index" });
        }
    }
}
Step 13 : Add Created Module
Add a reference to the new admin module from the main project.
Step 14 : Launch App
Add the module created as a reference in the master project, build and run.
If the steps were successful then you should have a classic ASP .net Core App running
This time you should be able to access content from the new admin module by going to “/admin/management” which should look like this :
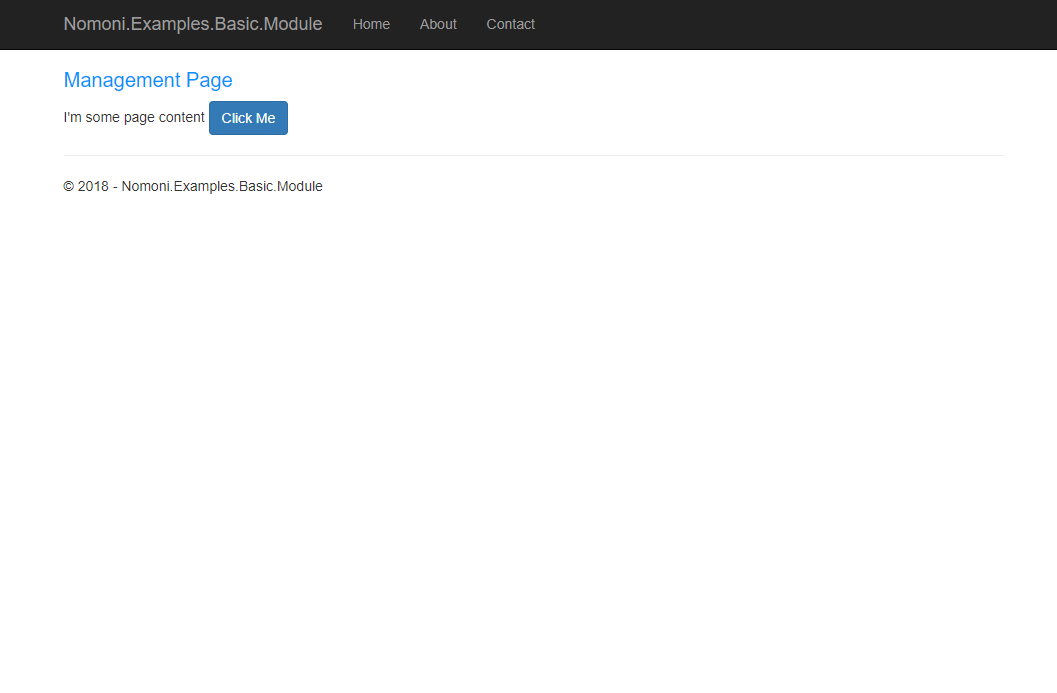
Clicking on the button should produce the alert message, and the title has been styled with the admin stylesheet.
The Source Code for this Tutorial can be found
https://github.com/treefishuk/nomoni/tree/master/examples/Nomoni.Examples.SecondModule
Next Steps
In the Next Tutorial we will fix the issues with the css and javascript placement.
