Part 1: Basic Web App with single module
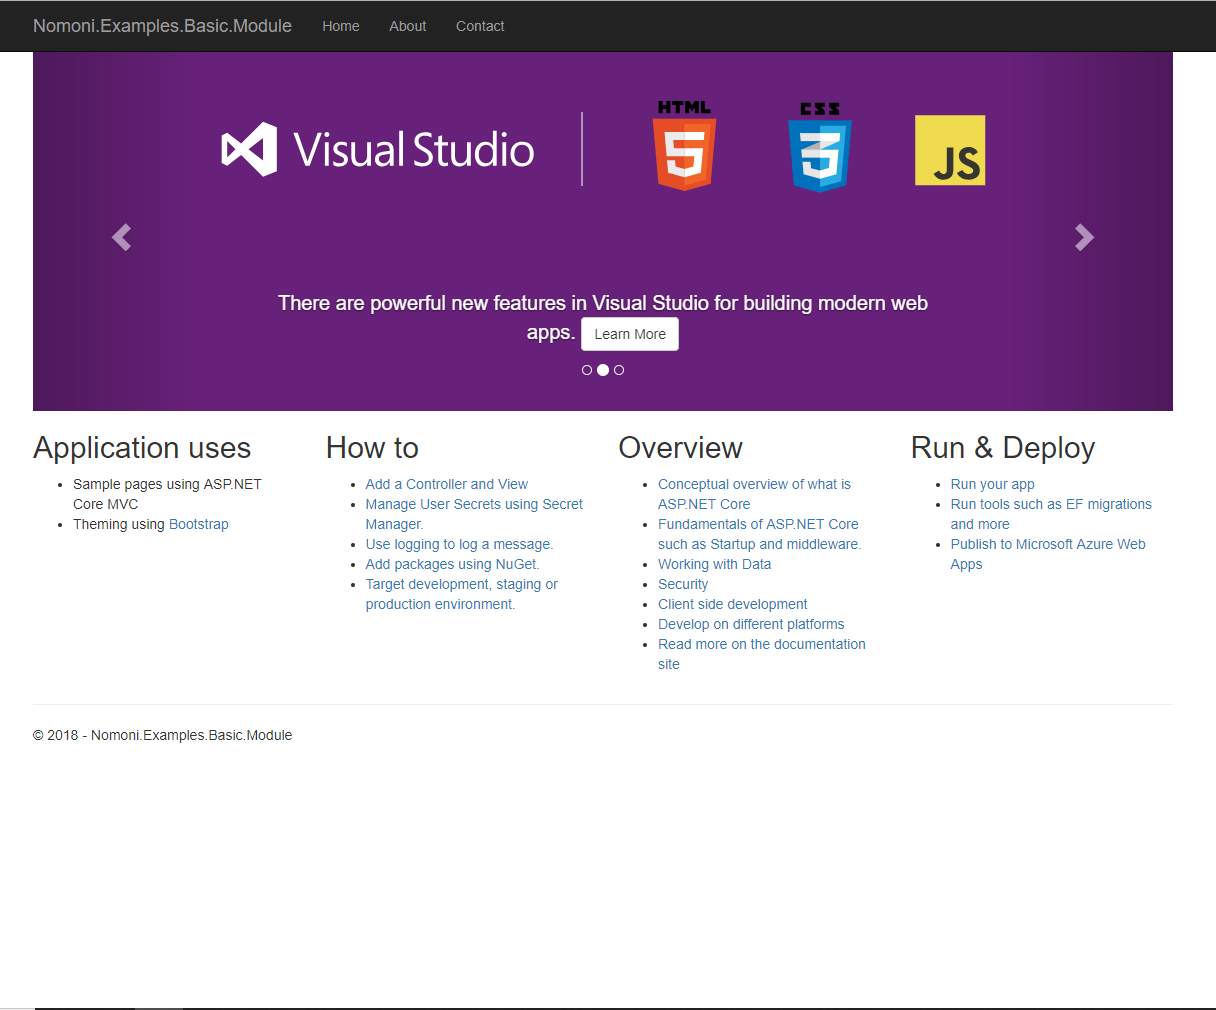
Welcome to part one of the getting started tutorials. This tutorial describes the process of creating a basic web app using Nomoni. The final result will be exactly what you would excpect to see from a default .net core web app template.
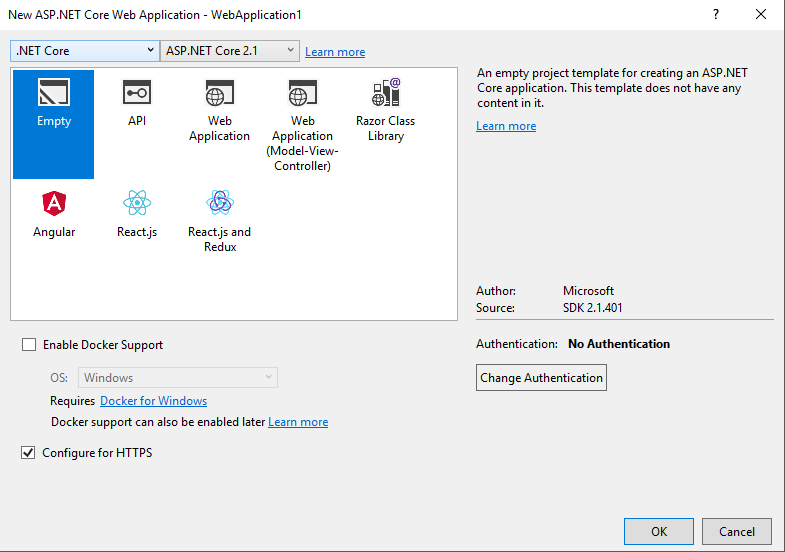
Step 1 : Create empty .net core web application
This will be the presentation project which all the module projects that will be created later on will be loaded into.
Step 2 : Install Nomoni.MVC nuget package
Install the Nomoni.Mvc package in the empty presentation project
Install-Package Nomoni.Mvc
Step 3 : Update Startup.cs
Update the Startup class in the presentation project so it looks like the following:
public class Startup
{
    // This method gets called by the runtime. Use this method to add services to the container.
    // For more information on how to configure your application, visit https://go.microsoft.com/fwlink/?LinkID=398940
    public void ConfigureServices(IServiceCollection services)
    {

        services.AddMvc().SetCompatibilityVersion(CompatibilityVersion.Version_2_1);

        services.UseNomoni();
    }

    // This method gets called by the runtime. Use this method to configure the HTTP request pipeline.
    public void Configure(IApplicationBuilder app, IHostingEnvironment env)
    {
        if (env.IsDevelopment())
        {
            app.UseDeveloperExceptionPage();
        }

        app.UseNomoni();

        app.UseStaticFiles();

    }
}
Step 4 : Create your first module project
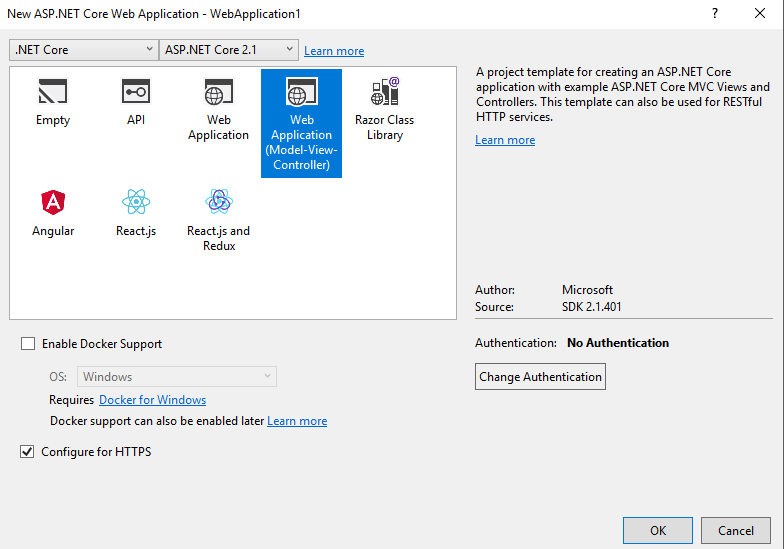
Add a new .net core MVC web application project. This will form the basis of our first module.
Step 5 : Install Nomoni.Mvc nuget package
Install the Nomoni.Mvc package in the module project
Install-Package Nomoni.Mvc
Step 6 : Remove Unnecessary Things
Delete the following from the module project:
- Startup.cs
- appsettings.json
And amend Project.cs to the following:
public class Program
{
    public static void Main(string[] args)
    {
    }
}
Step 7 : Update Module Project .csproj
Update the module projects .csproj file to look like this:
<Project Sdk="Microsoft.NET.Sdk.Web">

  <PropertyGroup>
    <TargetFramework>netcoreapp2.1</TargetFramework>
    <GenerateEmbeddedFilesManifest>true</GenerateEmbeddedFilesManifest>
  </PropertyGroup>

  <ItemGroup>
    <EmbeddedResource Include="Views\**;wwwroot\**" />
  </ItemGroup>

  <ItemGroup>
    <PackageReference Include="Microsoft.AspNetCore.App" />
    <PackageReference Include="Nomoni.Mvc" Version="0.1.18246" />
  </ItemGroup>

</Project>
Step 8 : Create Module Definition
Add a new folder to the module project called “Registrations”.
Add a new file called “ModuleInfo.cs” and implement the IModule interface found in Nomoni.Core.Abstractions
public class ModuleInfo : IModule
{
    public string Name => "Example Module";

    public string Author => "Jon Ryan";
}
Step 9 : Create Route Registration Definition
Add a new file to “Registrations” called “RouteRegistration.cs” and implement the IRouteRegistration interface found in the Nomoni.Mvc.Registration namespace
public class RouteRegistration : IRouteRegistration
{
    public int Priority => 1000;

    public void Execute(IRouteBuilder routeBuilder)
    {
        routeBuilder.MapRoute(name: "module", template: "{controller}/{action}/{id?}", defaults: new { controller = "Home", action = "Index" });
    }
}
Step 10 : Launch App
In the presentation project add the module project as a reference. Then build and run.
If the steps were successful then you should have a classic ASP .net Core App running
Source code for this example
The source code for this tutorial can be found here:
https://github.com/treefishuk/nomoni/tree/master/examples/Nomoni.Examples.Basic
Next Steps
In Part 2 : Adding a second module we will add a second module to the solution.


